是不是还有不少小伙伴都存在怎么开启fotosketcher批量设置框这个困扰?那么就由iefans网小编来为大家提供fotosketcher打开批量设置框方法,感兴趣的千万不过错过。
方法/步骤分享:
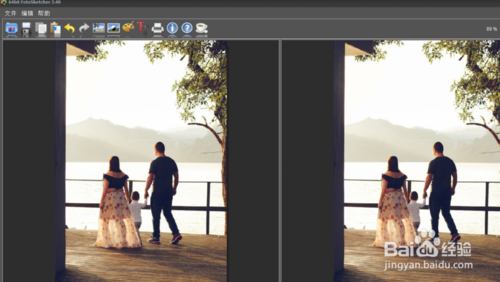
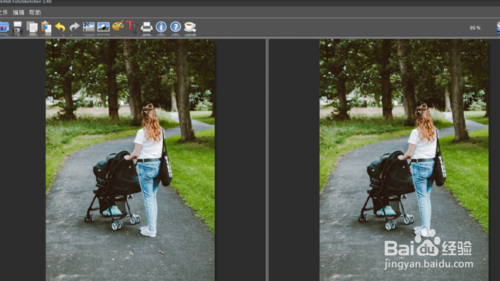
1.首先启动图像批量处理工具以及图片文件。
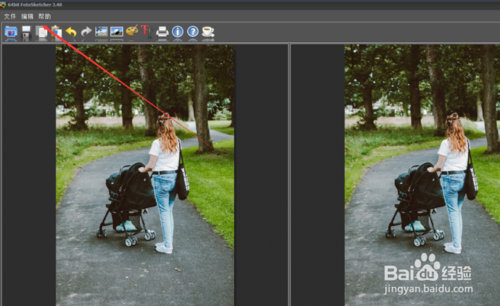
二、2.然后点击上方的编辑菜单窗口。
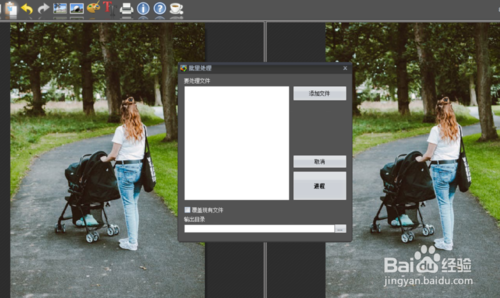
三、3.调出下拉框菜单后点击里面的批处理。
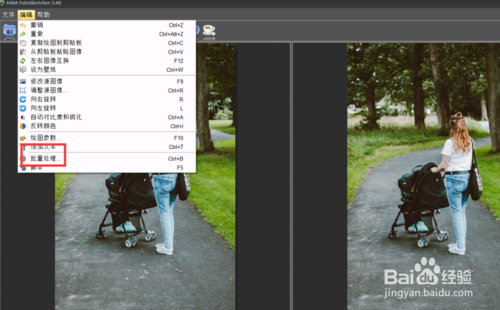
四、4.点击之后批处理窗口就出现,就可以开始批量处理了。
注意事项
有不懂可以问客服多多练习
fotosketcher打开批量设置框方法,今天的分享就到这里了,想要学习更多软件教程就来IE浏览器中文网站,快快收藏吧,更多精彩不容错过!