AutoCAD布局中的图纸提取,是众多CAD用户在日常工作中经常面临的需求,无论是为了单独查看某个部分的细节,还是为了将其应用于其他设计项目,图纸的提取都显得尤为关键,接下来,展示在AutoCAD中将布局里的图提取的相应教程,感兴趣的话就来了解一下吧。

AutoCAD布局里的图提取教程
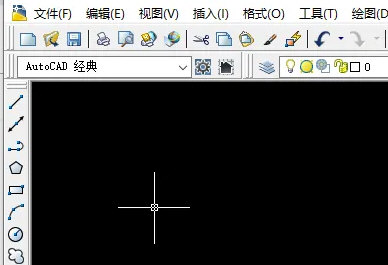
首先用电脑打开AutoCAD软件。
接着在打开文档里,点击布局视口选项。
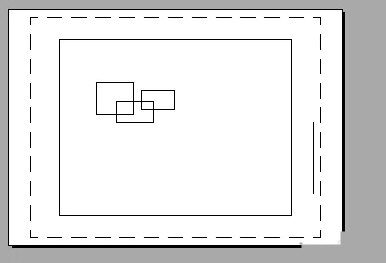
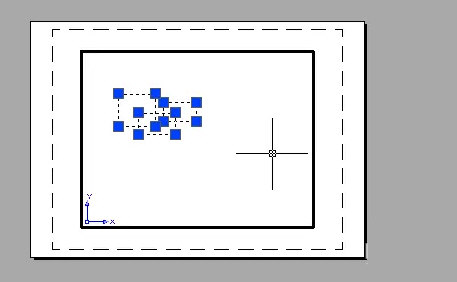
再空白处进入可编辑状态,选择图形按复制键。
最后在空白处按Ctrl+V复制即可完成操作。
以上就是AutoCAD布局里的图提取的完整教程,快快收藏Iefans手机教程频道获得更多热门软件资讯吧,更多好用的教程记得关注我们iefans中文浏览器网站!