Blender怎么去除阴影,很多朋友都遇到了这样的问题。这个问题该如何解决呢?下面小编就带来Blender去除阴影步骤详解,希望可以帮到您!

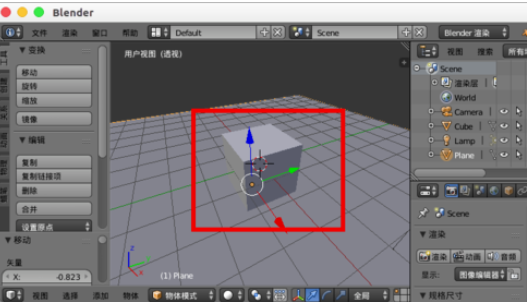
我们先打开一个blender场景,里面创建一个立方体。
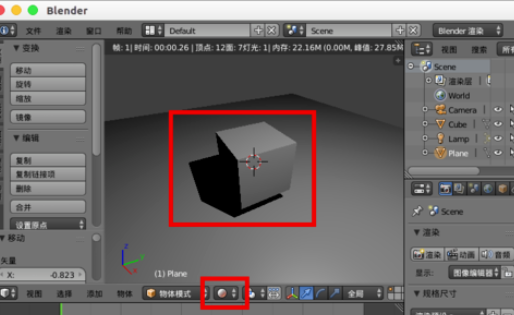
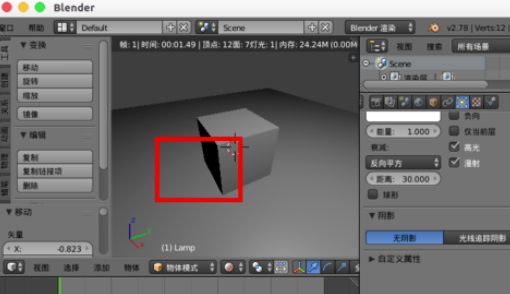
然后切换到渲染预览我们发现这个立方体是有阴影的。
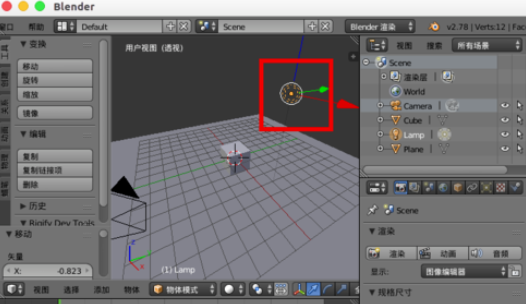
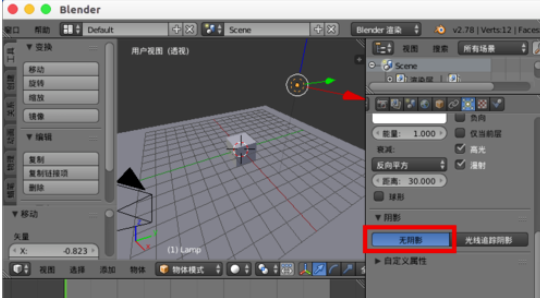
这时要去除阴影我们可以选择场景中的灯光,在右边的属性导航中找到灯光“数据”。
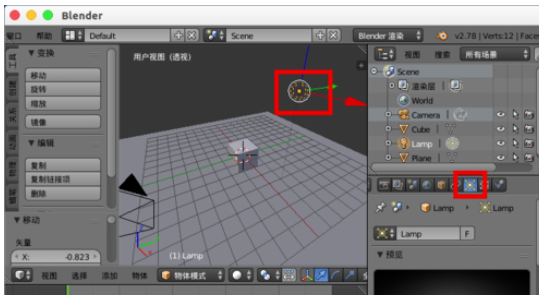
接着我们在里面把“阴影”设置为“无阴影”。
再次渲染我们发现立方体底部的阴影就没有了。
如果是cycle渲染,可以在里面取消勾选“投射阴影”。

以上就是Blender去除阴影步骤详解的全部内容了,IE浏览器中文网站为您提供最好用的浏览器下载,为您带来最新的软件资讯!


