图片工厂怎么快速抠图,很多朋友在使用中都存在这个疑惑,那就来看看iefans小编为大家分享快速抠图操作流程,感兴趣的朋友可以了解一下哦~

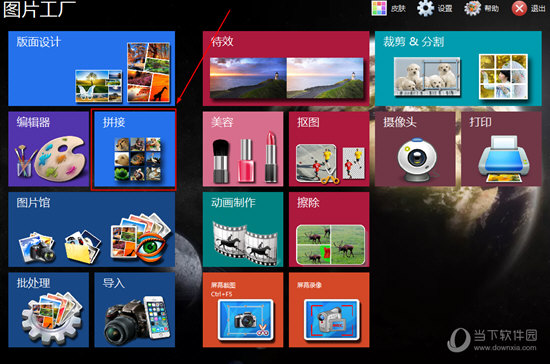
打开图片工厂软件,进入界面,点击【抠图】选项,

进入新界面,点击【打开】,将需要处理的图片置入画布,

插入图片,点击左侧工具栏中的【抠图】选项,如图所示,

进入抠图界面,如图,绿色区域代表保留区域,红色区域代表要去除的区域,

使用画刷在图片上进行涂抹,点击确定,

图片成功抠出,将其导出保存为png透明图片。

以上就是IEfans小编今日为大家带来的图片工厂快速抠图操作流程一览,更多软件教程尽在IE浏览器中文网站!